Tag: carport

Architecture & Building

Looking To Build A Carport? Find Out If They Are Valuable

What is a carport? 

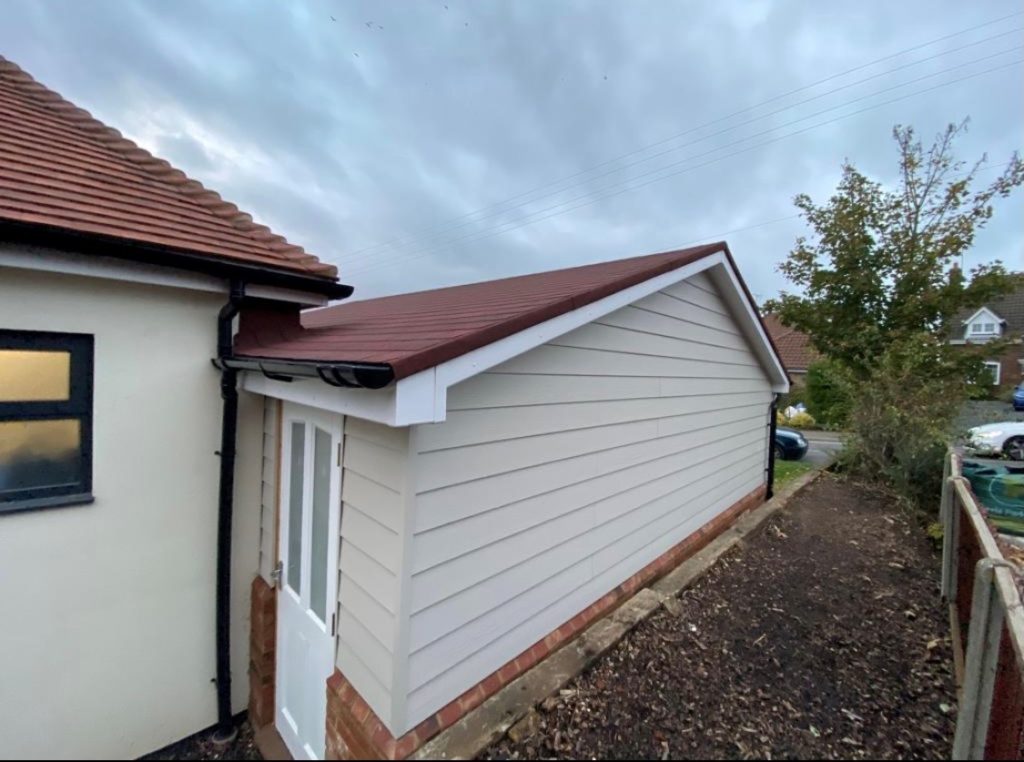
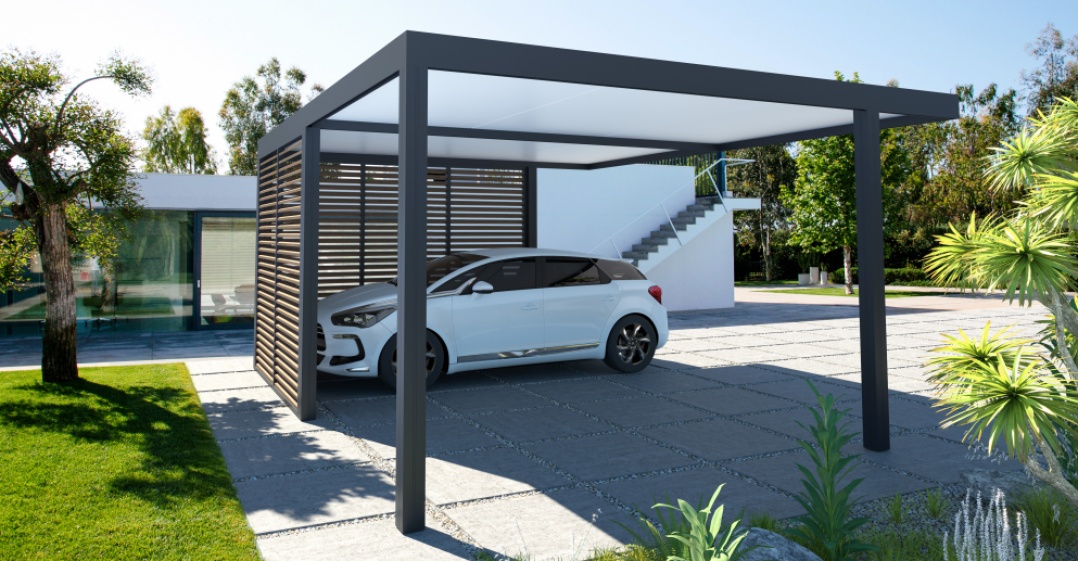
A carport is a covered structure used to offer protection to cars. Because they don’t have walls, the open and accessible space makes it easy to park your vehicles underneath. Commonly carports are attached to your house or they can be a separate free-standing structure, depending on what you like.  

Carports are a great alternative if you don’t have a garage or if you can’t afford to build one. They give your cars shelter from the weather and will save you time when it comes to de-icing during the winter months. And in the summer months, a carport keeps your vehicle’s cool and in the shade. 

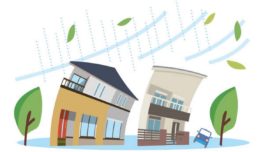
Also, if you live in an area with a lot of trees and wildlife carports are handy. This is because they can prevent branches from falling on your car or any animal mess. Which ends up keeping the cars clean and shiny.  

Does a carport add value to your home? 

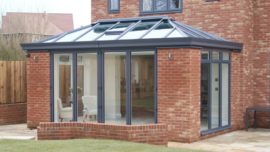
Typically, carports will increase the value of your home, but maybe not in the way you were expecting. They don’t automatically raise the value of your home. In fact, if it’s done right, they are the ideal home improvements, that can make your home desirable.  

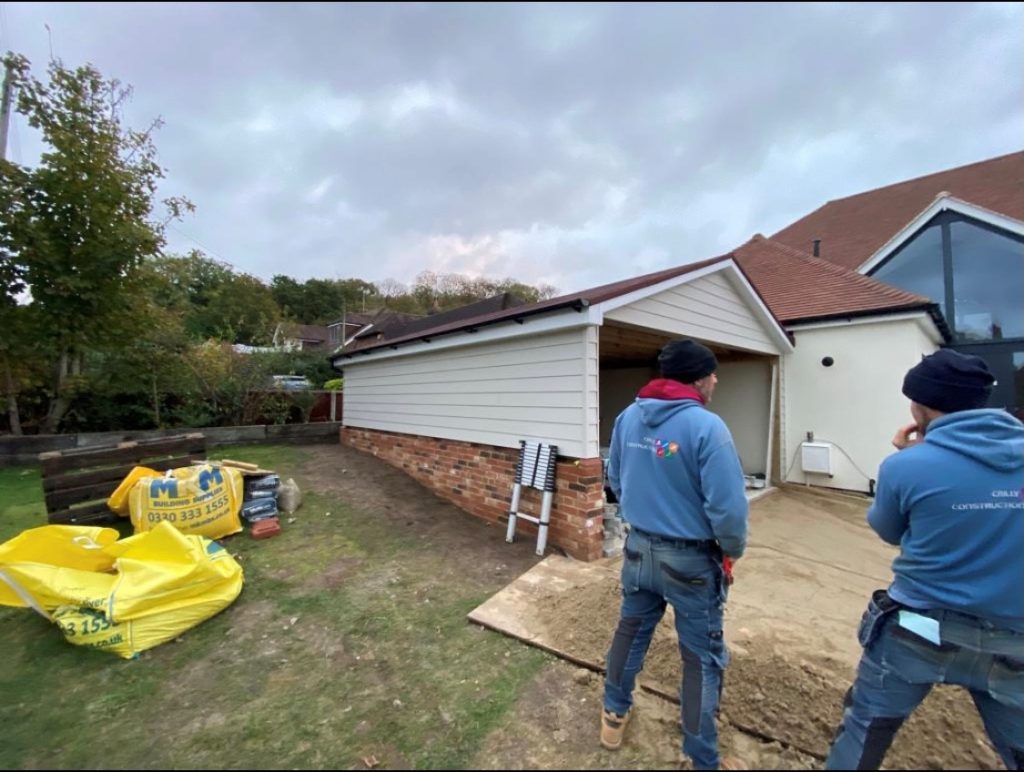
Carports are relatively cheap and easy to build. And is an easy way to add extra benefits and value to your home without having to do lengthy and expensive construction.  

Planning permission – 

Planning permission isn’t required for a carport. Provided that: the carport is used for domestic purposes only and the height can’t exceed 4 meters.  

How much is a carport?  

A single carport should cost between £2,000-£4000 to build, with an average carport costing £3,000. Double carports are more expensive and will cost around £5,000 to install. Although, these prices do not include the cost to lay a concrete floor or to hook up to the main services such as electricity, gas, or water.  

Carports are also very versatile, if you have a garage to park your car or if you don’t have a car, they are still very useful. You could use it as cover and shade from the sun, or you could place garden furniture underneath and protect it from the rain. 

Generally, carports are permanent secure structures that can’t be moved. However, some people like to have carports that can be moved so if they decide to move houses, they can take it with them.   

Contact us

Architecture & Building

Find Out The Journey Of Building A Carport

Building a carport is a great way of providing protection for your vehicle, whilst increasing the value and appeal to your home. 

Here are the steps to build an enclosed carport.  

Step 1: Preparation to start the carport –  

The first thing you should do is check with your local planning authority to make sure your proposed project is up to code. Once you have been approved by the planning authority you can then prepare the carport to be enclosed. 

 You should start by clearing the area that the carport will be placed. Then you will need to pour a concrete slab to support the new room. However, before you pour the slab you need to make sure that you have measured how much space is required. For an average car, you need to measure at least 4.9 metres. It is best to make a wooden box to create a template for the concrete to set in once it’s poured. Try to ensure that the concrete slab is level with the rest of your house.  

Step 2: Purchase the necessary building materials –  

You can build carports from wood, metal, and sometimes brick, depending on the style you want and if you want it to match the materials on your home.  

When choosing the materials, you should keep in mind the climate of where you live. Different materials and designs may be more or less appropriate for where in the world you live. For example, lumber may be more appropriate for drier climates. They are also known to be more secure and durable. 

Step 3: start building the walls –  

Now you need to measure the size of the carport and start building the frames for the walls. To secure the walls to the carport you’ll build a simple rectangular box. If you are not creating an enclosed carport then you would move on to the roof. Whereas, if your project is an enclosed carport you will need to add stud walls. You will also need to frame openings for any windows or doors you want to include.  

Then you should secure the frames and the walls to the concrete floors by bolting them down.  

Step 4: building the roof –  

The next step is to fasten the rafters to the side beams. Rafters that will support the roof will be fastened to the wooden box. You should then fasten plywood roof boards to the rafters  

Step 5: Check the stability of the structure –  

When the roofing of your carport is complete, you should take the time to check the stability of the structure. If everything is done properly the carport should be quite solid. If there is any movement when you are checking the stability, you will have to add structure braces as reinforcement.  

Step 6: Finishing touches to the carport-  

For the finishing touches of your carport, you need to caulk the plywood roof seams. This is to keep the elements out, it is important to cover the roof with tar paper to create a waterproof surface, before shingling over it. Then you should fasten the shingles on top of the plywood roof. After that, you can then stain or paint the wood elements, increasing the longevity in the process. Once you have finished all the touches your carport is ready to go.  

Contact us